Tomato Seed Starting Made Simple: Your Path to Homegrown Flavor
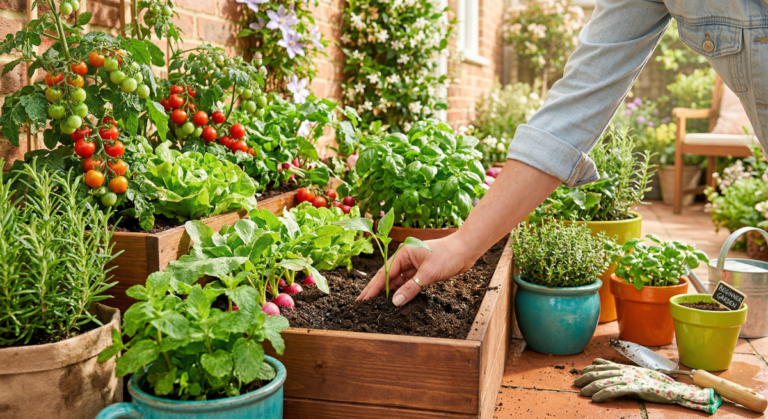
Imagine biting into a perfectly ripe, sun-warmed tomato, bursting with flavor that store-bought varieties can only dream of. That exquisite taste, that vibrant color, that undeniable freshness – it’s all within your reach when you grow your own. And the journey to that mouthwatering moment often begins indoors, with the humble act of tomato seed starting.
Don’t let the idea intimidate you! Starting your own tomato seeds is a deeply rewarding, surprisingly simple process that unlocks a world of possibilities beyond the limited choices at your local nursery. This guide will walk you through every step, ensuring your path to homegrown deliciousness is clear and successful.
Why Start Your Own Tomato Seeds?
Embarking on the adventure of tomato seed starting offers a treasure trove of benefits that will elevate your gardening game:
- Unmatched Variety: The commercial market offers a fraction of the tomato types available as seeds. From heirloom wonders like ‘Brandywine’ and ‘Cherokee Purple’ to unique cherries, pastes, and slicing varieties in every color imaginable, you gain access to an unparalleled palette of flavors and textures.
- Cost-Effective: While there’s a small initial investment in supplies, a packet of seeds costs far less than buying individual starter plants. You can grow dozens of plants for the price of a few.
- Control from the Get-Go: You dictate the growing conditions from day one. You choose your preferred soil, pest control methods, and ensure your plants get the best possible start, often resulting in stronger, healthier plants.
- Healthier Starts: Seedlings grown at home avoid the stress of transportation and crowded conditions often found in garden centers. They adapt more easily to your specific garden environment.
- Sheer Satisfaction: There’s an incredible sense of accomplishment watching a tiny seed transform into a robust plant laden with fruit. You’ll feel a deeper connection to your food.
- Better Timing: You can start your seeds exactly when you need to for your specific climate, ensuring your plants are the perfect size when it’s time to transplant them outdoors.
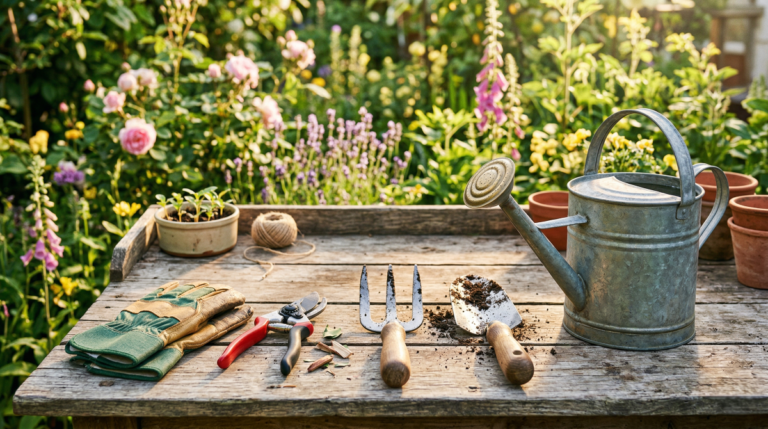
Gather Your Arsenal: Essential Supplies
Before you dive in, ensure you have these key items on hand. Think of them as your gardening toolkit for successful tomato seed starting:
- Tomato Seeds: Of course! Choose varieties suited to your climate and taste preferences.
- Seed-Starting Mix: This is crucial. Use a fine, sterile, lightweight, soilless mix designed specifically for seeds. It provides excellent drainage and aeration. Avoid heavy garden soil, which can compact and harbor diseases.
- Seed-Starting Trays or Pots: These can be plastic cell packs, biodegradable peat pots, or even recycled containers with drainage holes. Ensure they are clean.
- Clear Plastic Dome or Plastic Wrap: To create a mini-greenhouse effect and maintain humidity.
- Watering Can or Spray Bottle: For gentle, even watering.
- Heat Mat (Optional, but Recommended): Provides bottom heat, which significantly speeds up germination.
- Grow Lights: Crucial for strong, stocky seedlings. A simple shop light with fluorescent or LED bulbs works well. Natural light from a window is rarely enough.
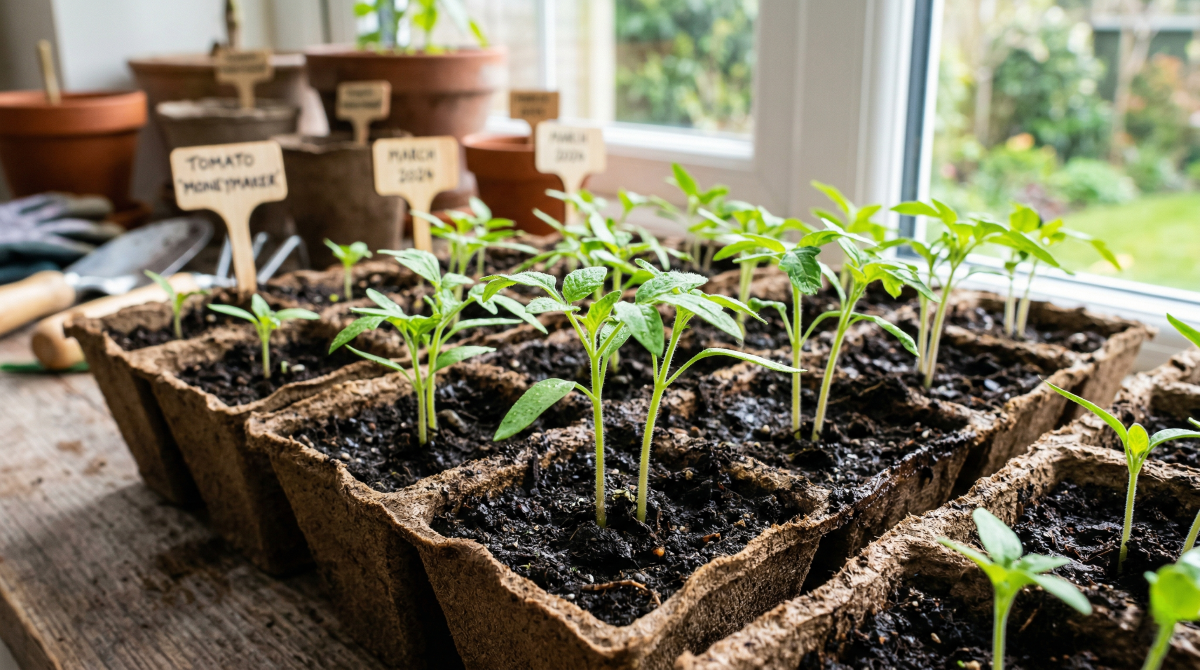
- Labels and a Permanent Marker: You’ll thank yourself later when identifying varieties!
- Small Fan (Optional): Helps strengthen stems and prevent fungal issues.
The Journey Begins: Step-by-Step Seed Starting
Here’s how you bring those tiny seeds to life:
1. Timing is Everything
Most tomatoes need to be started indoors about 6-8 weeks before your average last frost date. Check with your local extension office or an online resource for this crucial date in your area. This allows enough time for seedlings to develop into strong, healthy plants ready for transplanting.
2. Prepare Your Growing Medium
Moisten your seed-starting mix thoroughly before filling your trays. It should be damp like a wrung-out sponge, not soaking wet. Fill your chosen cells or pots to within about half an inch of the rim.
3. Sow Your Seeds
Make a small indentation in the center of each cell, about ¼ inch deep. Place 1-2 tomato seeds in each indentation. Don’t worry about planting them too deep; tomatoes are resilient. Cover the seeds lightly with more moistened seed-starting mix. If you plant two seeds, you’ll thin the weaker one later.
4. Water Gently
After sowing, gently mist the top of the soil with water or use a bottom-watering method (place the tray in a shallow pan of water until moisture wicks up). This settles the seeds without disturbing them.
5. Create a Warm, Humid Environment
Cover your trays with a clear plastic dome or plastic wrap. This traps humidity and warmth, essential for germination. Place the trays in a warm spot, ideally on a heat mat set to around 75-80°F (24-27°C). Tomatoes love warmth!
6. Provide Light (After Germination)
Once you see tiny green sprouts emerge (this can take 5-10 days, sometimes longer), immediately remove the plastic dome and place your seedlings under grow lights. Position the lights just 2-4 inches above the tops of the seedlings. This is critical for preventing “leggy” (tall, spindly) plants. Run the lights for 14-16 hours per day.
7. Water Wisely
Keep the seed-starting mix consistently moist, but never waterlogged. Overwatering is a common killer of young seedlings. Water from the bottom when possible, or use a gentle stream that won’t dislodge delicate sprouts.
8. Thinning for Success
If you planted two seeds per cell and both germinated, choose the stronger, healthier seedling and snip the weaker one at the soil line with small scissors. Don’t pull it out, as this can disturb the roots of the keeper. You want one strong plant per cell.
9. Strengthen Your Seedlings
Once your seedlings have their first set of true leaves (the second set of leaves that appear after the initial “cotyledon” leaves), you can start gently hardening them off indoors. A small fan blowing lightly across them for a few hours a day will mimic wind and help them develop stronger stems.
10. Harden Off (Crucial Step!)
About 7-10 days before you plan to transplant them outdoors, you must “harden off” your tomato seedlings. This acclimates them to outdoor conditions like wind, direct sun, and fluctuating temperatures. Start by placing them in a protected, shady outdoor spot for an hour or two on the first day. Gradually increase their exposure time and sunlight intensity each day. Bring them indoors if temperatures drop below 45-50°F (7-10°C).
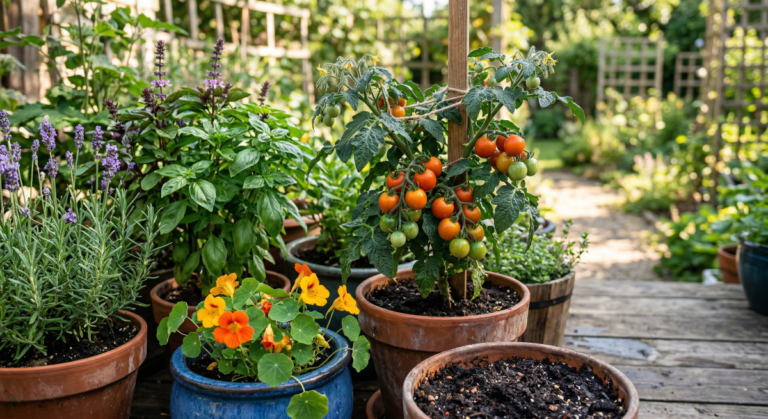
11. Transplant to the Garden
Once all danger of frost has passed, and your seedlings are hardened off and robust (6-12 inches tall), it’s time to plant them in their final garden home! Plant tomatoes deep – you can bury part of the stem, as tomatoes will grow roots from the buried portion, leading to a stronger plant.
Pros and Cons of Starting Tomato Seeds
| Pros of Tomato Seed Starting | Cons of Tomato Seed Starting |
|---|---|
| Access to hundreds of unique varieties | Requires dedicated indoor space for 6-8 weeks |
| Significant cost savings over buying plants | Requires an initial investment in supplies (lights, mats) |
| Ensures healthy, disease-free starts | Time-consuming for some gardeners |
| Greater control over growing environment | Risk of failure (germination issues, diseases) |
| Deeper satisfaction from growing from scratch | Can be challenging for absolute beginners |
| Perfect timing for your climate and garden | Requires consistent monitoring and care |
| Potential for organic or specialized cultivation |
Frequently Asked Questions (FAQs)
Q1: Why are my tomato seedlings long and leggy?
A1: Leggy seedlings are almost always due to insufficient light. They stretch towards the light source trying to get enough. To fix this, ensure your grow lights are just 2-4 inches above the plant tops and run them for 14-16 hours daily. A small fan can also help strengthen stems.
Q2: What kind of soil should I use for tomato seed starting?
A2: Always use a sterile, soilless seed-starting mix. It’s lighter, drains better, and is less likely to contain weed seeds or disease pathogens than garden soil or standard potting mix.
Q3: How often should I water my seedlings?
A3: Water when the top inch of soil feels dry to the touch. It’s better to underwater slightly than to overwater, which can lead to damping-off disease. Water gently from the bottom or use a fine mist.
Q4: Can I use natural sunlight from a window?
A4: While some light is better than none, most windows don’t provide enough consistent, direct light for strong tomato seedlings. They often result in leggy, weak plants. Grow lights are highly recommended for best results.
Q5: What is “hardening off” and why is it important?
A5: Hardening off is the process of gradually acclimating your indoor-grown seedlings to outdoor conditions (sun, wind, temperature fluctuations) over 7-10 days before transplanting. Without it, your tender seedlings can suffer severe shock, stunting, or even death when moved directly outdoors.
Conclusion
Starting your own tomato seeds is more than just a gardening task; it’s an investment in flavor, variety, and the pure joy of nurturing life. While it requires a bit of preparation and consistent care, the process is straightforward and incredibly rewarding. From the first tiny sprout to the bountiful harvest, you’ll feel a connection to your food that supermarket tomatoes simply can’t provide.
Final Thoughts
This year, take the plunge into tomato seed starting. You’ll discover the satisfaction of growing robust plants from scratch and the unparalleled taste of tomatoes perfectly suited to your palate. Get ready to enjoy the freshest, most flavorful tomatoes you’ve ever eaten, right from your own backyard. Your journey to homegrown deliciousness starts now!