Grow Your Own Veggies: The Ultimate Beginner’s Guide to Your First Delicious Harvest
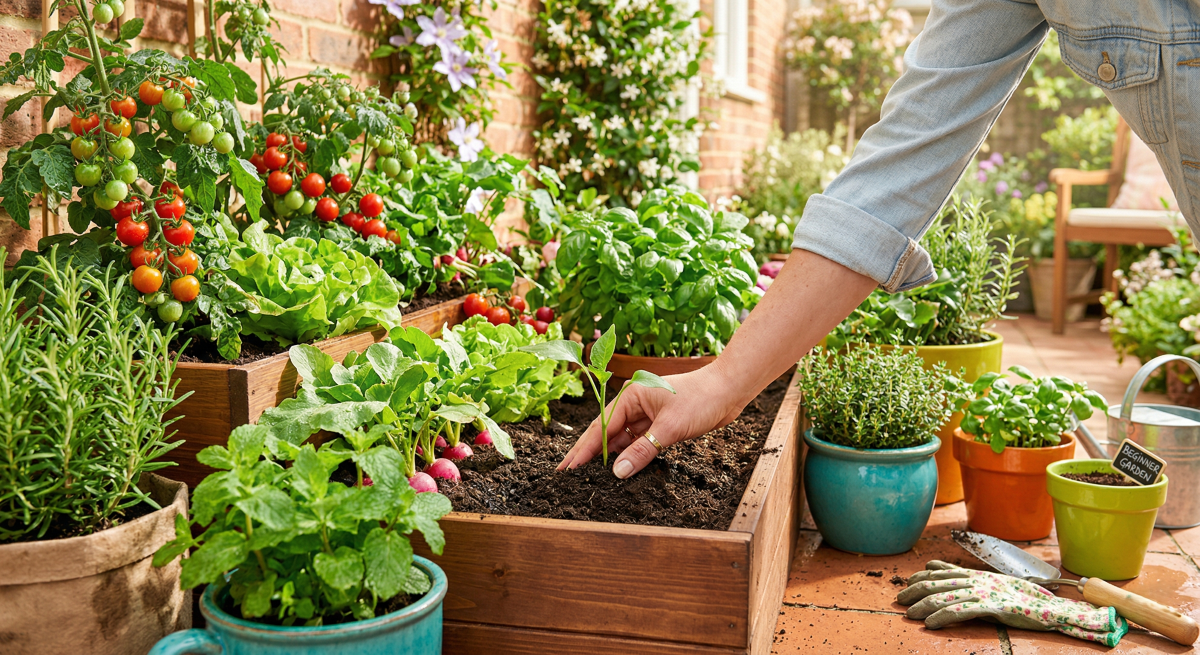
Imagine stepping into your backyard or onto your balcony and plucking a ripe, juicy tomato, a crisp lettuce leaf, or fragrant basil, all grown by your own hands. This isn’t just a dream; it’s an achievable reality for anyone, even if your gardening experience extends no further than a houseplant you once forgot to water. Growing your own veggies connects you with nature, provides unparalleled freshness, and can even save you money.
This guide empowers you to take that exciting first step. We will break down the process into easy-to-understand actions, ensuring your first harvest is a bountiful and rewarding success. You possess the ability to cultivate delicious food; let’s dig in!
Why Grow Your Own Veggies? The Bountiful Benefits and a Few Downsides
Before we get our hands dirty, let’s explore why embarking on this gardening adventure is so worthwhile, and what challenges you might encounter. Understanding both sides helps you prepare for a successful and enjoyable journey.
| Pros of Growing Your Own Veggies | Cons of Growing Your Own Veggies |
|---|---|
| Unbeatable Freshness & Flavor: Harvest at peak ripeness. | Time Commitment: Requires regular attention (watering, weeding). |
| Nutritional Value: Higher nutrient content than store-bought. | Initial Investment: Tools, seeds/starts, soil can add up. |
| Cost Savings: Reduce your grocery bill over time. | Space Limitations: Not everyone has ample garden room. |
| Food Security & Control: Know exactly what’s in your food. | Pests & Diseases: Can damage crops and require intervention. |
| Stress Relief & Mindfulness: Therapeutic outdoor activity. | Weather Dependency: Unpredictable weather affects growth. |
| Physical Activity: Gentle exercise, fresh air. | Learning Curve: Mistakes happen; it takes practice. |
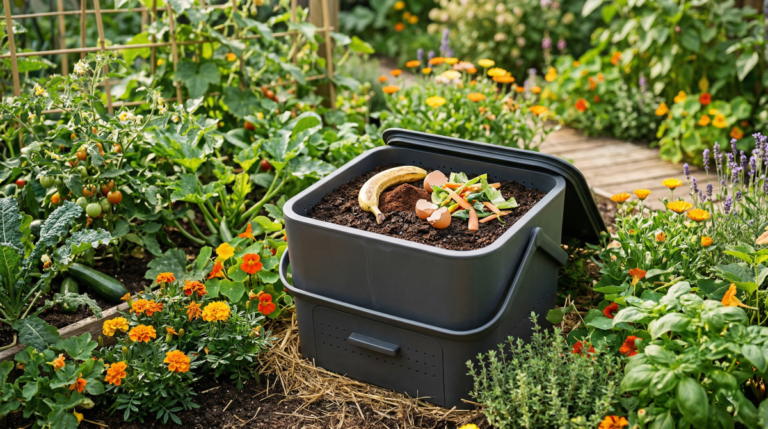
| Sustainable Living: Reduce food miles and packaging. | Unpredictable Yields: Not every harvest is massive. |
| Educational for Kids: Teach about food sources and nature. | Seasonal Limitations: Most plants grow only in specific seasons. |
| Sense of Accomplishment: Immense pride in your harvest. | Physical Labor: Digging, bending, lifting can be tiring. |
Getting Started: Your Absolute Essentials for Success
You don’t need a sprawling farm or advanced degrees in horticulture. You just need a few basic elements and a can-do attitude.
1. Location, Location, Location: The Sunshine Factor
Your plants literally eat sunshine! Most vegetables require at least 6-8 hours of direct sunlight per day to thrive.
- Action: Walk around your yard or balcony throughout the day. Observe which spots receive consistent, uninterrupted sunlight. South-facing areas often work best.
- No Yard? No Problem! Balconies, patios, even sunny windowsills can become productive gardens with container gardening.
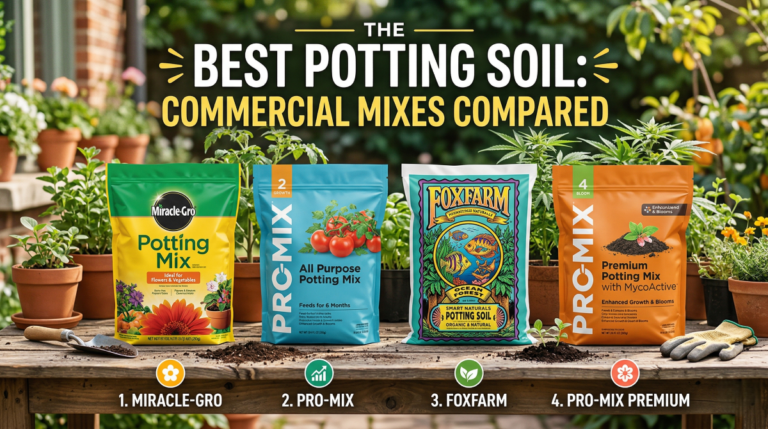
2. Soil is Everything: The Foundation of Life
Think of soil as your plants’ pantry. Good soil provides nutrients, anchors roots, and drains well. Avoid using plain garden dirt from your yard, which can be compacted and nutrient-poor.
- Action: Invest in high-quality potting mix (for containers) or raised bed soil (for raised beds). Look for mixes enriched with compost and organic matter. This gives your plants a fantastic head start.
- Tip: Healthy soil smells earthy and crumbles easily.
3. Choosing Your First Plants: Easy Wins for Beginners
Don’t overwhelm yourself with exotic crops. Start with reliable, forgiving vegetables that offer quick rewards. This builds confidence!
Beginner-Friendly Veggies:
- Leafy Greens: Lettuce (loose leaf varieties), spinach, Swiss chard, kale. They grow relatively quickly and are easy to harvest.
- Radishes: Amazingly fast, ready in as little as 3-4 weeks.
- Bush Beans: Produce heavily and don’t require staking.
- Cherry Tomatoes: More forgiving than larger varieties, great for containers.
- Herbs: Basil, mint, parsley, cilantro – they are prolific and add huge flavor to meals.
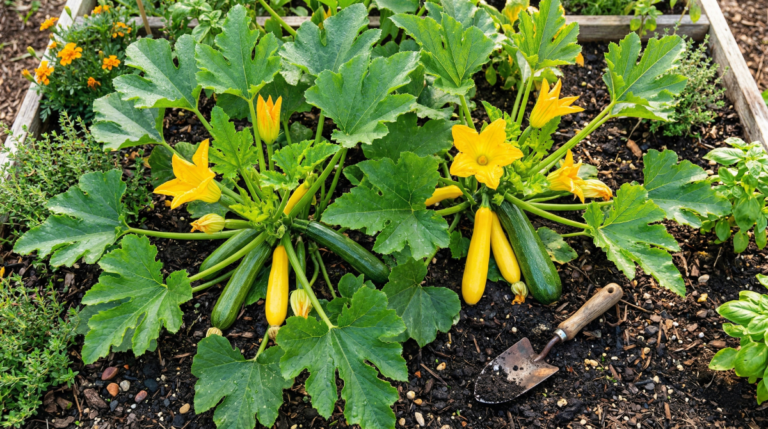
- Zucchini/Summer Squash: Extremely productive, but needs space!
- Action: Research your local climate zone and planting times. Most garden centers provide helpful guides. Start with 3-5 different types of plants you enjoy eating.
4. Watering Wisdom: The Thirst Quencher
Proper watering is critical. Too little, and plants wilt; too much, and roots can rot.
- Action: The golden rule: Feel the soil. Stick your finger about an inch or two into the soil. If it feels dry, it’s time to water. If it’s still damp, wait.
- When to Water: Early morning is best. This allows water to soak in before the heat of the day and foliage to dry, reducing fungal issues.
- How to Water: Water deeply and slowly at the base of the plant, not on the leaves. This encourages roots to grow deep.
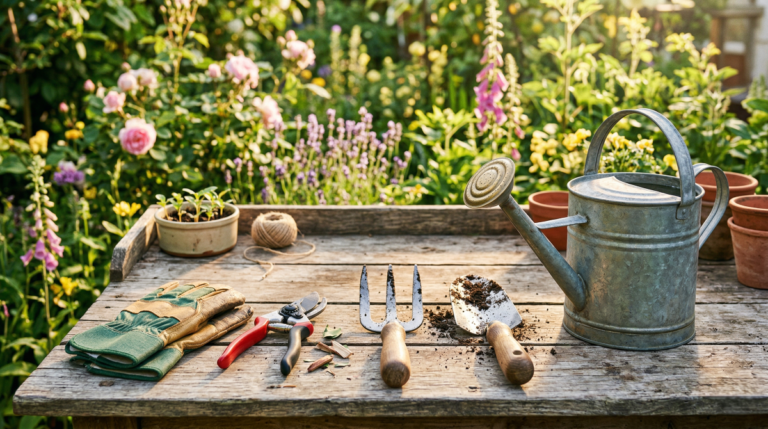
5. Tools of the Trade: Minimal but Mighty
You don’t need a shed full of gadgets. Start with the basics:
- Hand Trowel: For digging small holes and transplanting.
- Gardening Gloves: Protect your hands.
- Watering Can or Hose with a Gentle Sprayer: For precise watering.
- Small Hand Cultivator/Fork: For breaking up soil and weeding.
- Optional: Small pruners for harvesting herbs or trimming.
Planting Your Seeds of Success: Getting Them in the Ground (or Pot!)
Now you have your location, soil, plants, and basic tools. It’s time to get planting!
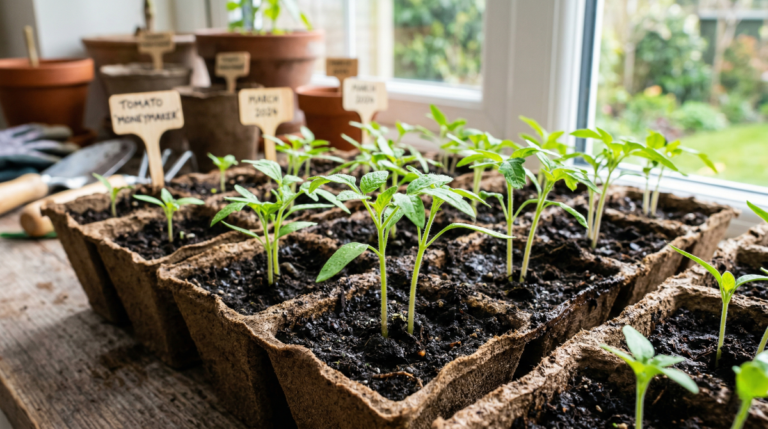
Seeds vs. Starts (Young Plants)
- Seeds: Cheaper, more variety, but require more patience and care (germination, thinning).
- Starts: More expensive, less variety, but give you a head start and higher success rate for beginners.
- Action: For your first garden, starts are highly recommended. They offer instant gratification and a higher chance of success.
Planting Your Chosen Veggies
- Read the Plant Tag/Seed Packet: This gives you crucial information: spacing, sunlight needs, and mature size.
- Prepare the Hole: Use your trowel to dig a hole twice as wide as your plant’s root ball and just as deep.
- Gently Remove the Plant: Squeeze the sides of the nursery pot and carefully slide the plant out. If roots are circling the bottom, gently tease them apart.
- Place the Plant: Set the plant in the hole so the top of its root ball is level with the surrounding soil.
- Backfill: Gently fill the hole with soil, firming it lightly around the base of the plant. Avoid compacting it too much.
- Water In: Give your newly planted veggies a good, deep drink immediately after planting to help settle the soil and reduce transplant shock.
- Spacing is Key: Do not crowd your plants! Follow the spacing recommendations. Overcrowding leads to poor air circulation, competition for nutrients, and smaller yields.
The Waiting Game and Your First Harvest!
Patience is a gardener’s virtue. You will observe daily changes: new leaves unfurling, flowers appearing, and finally, tiny fruits or vegetables forming.
Regular Care: Continue to water as needed, and gently remove any weeds you see. Weeds compete with your plants for water and nutrients.
Pest Watch: Inspect your plants regularly. Catching pests early makes them easier to manage. A strong spray of water can often dislodge aphids, or you can pick off larger bugs by hand.
Knowing When to Harvest:
- Lettuce/Greens: Pick outer leaves as needed, and the plant will continue to produce.
- Radishes: When the root peeks above the soil and is about 1 inch in diameter.
- Bush Beans: When pods are firm and snap easily, before the beans inside swell too much.
- Cherry Tomatoes: When they achieve full color and are slightly soft to the touch.
- Herbs: Snip off what you need, encouraging bushier growth.
Action: Harvest your produce! Use clean pruners or scissors, or simply snap off at the stem.
Frequently Asked Questions (FAQ)
Q1: My seeds aren’t sprouting. What went wrong?
A: Common issues include old seeds, inconsistent watering (too dry or too wet), or planting them too deep. Ensure fresh seeds, keep soil consistently moist but not soggy, and follow planting depth instructions.
Q2: My plant leaves are turning yellow. What does it mean?
A: Yellowing leaves often indicate overwatering, underwatering, or a nutrient deficiency. Check the soil moisture first. If it’s consistently wet, you’re likely overwatering. If it’s dry, underwatering. If neither, consider a balanced liquid fertilizer (follow package directions).
Q3: How do I protect my plants from pests without chemicals?
A: Many organic methods work! Hand-picking larger pests, blasting small ones (like aphids) with a strong stream of water, using insecticidal soap (check labels), or encouraging beneficial insects (ladybugs!) are good starting points. Companion planting (e.g., marigolds deterring some pests) also helps.
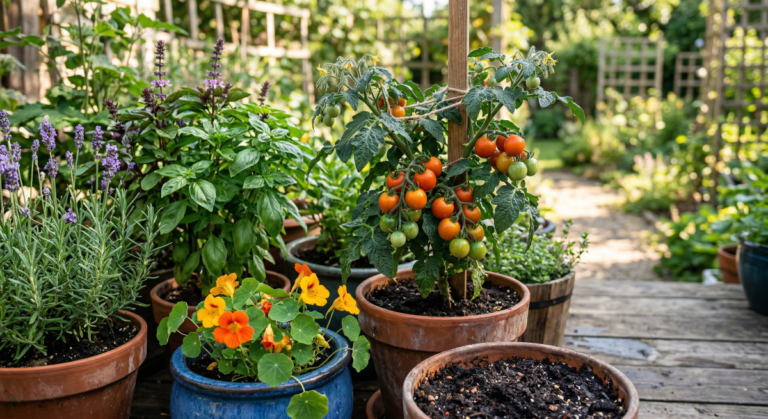
Q4: Can I grow vegetables in pots if I have limited space?
A: Absolutely! Container gardening is fantastic for small spaces. Choose large enough pots (at least 5-gallon capacity for tomatoes), use good quality potting mix, and ensure they have drainage holes. Cherry tomatoes, lettuce, herbs, radishes, and bush beans all thrive in containers.
Q5: When should I fertilize my plants?
A: If you started with good potting mix or compost-rich soil, your plants might not need fertilizer for the first few weeks. As they grow and produce, you can apply a balanced, organic liquid fertilizer every 2-4 weeks, following the product’s instructions. Always water before fertilizing.
Conclusion: You Are a Gardener!
You’ve taken the first big step on an incredibly rewarding journey. By understanding the basics of sunlight, soil, water, and plant choice, you’ve equipped yourself with the knowledge to grow your own veggies. Your first harvest, no matter how small, represents triumph, sustainability, and connection.
Final Thoughts: Embrace the Journey
Gardening is as much about learning as it is about harvesting. You will encounter challenges – a plant might struggle, pests might appear, or a harvest might be smaller than expected. These are not failures, but valuable lessons. Each season offers new opportunities for growth, both in your garden and in your skills. Observe, learn, adapt, and most importantly, enjoy the process. There’s a profound satisfaction in nurturing life and feeding yourself from the earth. Happy growing!